How to Use Slide Master in PowerPoint

Creating presentations can be tricky. In this article you’ll learn how to use slide master in PowerPoint.
Why should you use slide master in PowerPoint?
A lot of times we prepare slides without even thinking of the basic formatting we need to follow. We’ll just go on preparing slide upon slide to find out that the formatting of it all is all off at the end. This can be frustrating as you will have to go slide by slide, correcting every one of them. At times it is common that some pages will leave out on the required formatting. Hence the pages might look inconsistent; this will dearly affect your presentation.
But what If you can change every single layout of every slide without having the need to go slide by slide? This is possible with the Slide Master option in PowerPoint. With this feature, you can change almost every part of the slides from just one slide. If you were annoyed by the tiresome job of editing slide by slide, then PowerPoint slide master is going to be your new best friend!
The process is relatively easy and hassle-free, yet many do know how it can be done. With this feature, you can apply formatting to all the PowerPoint slides. The Master slides to ensure that each and every page look consistent. The fonts, the effects or a logo perhaps, can be put into every slide without going about each one of them.
This does not mean that individual slides cannot be edited, you can definitely edit individual slides with ease. So let’s see how a master slide effect can be used in PowerPoint;
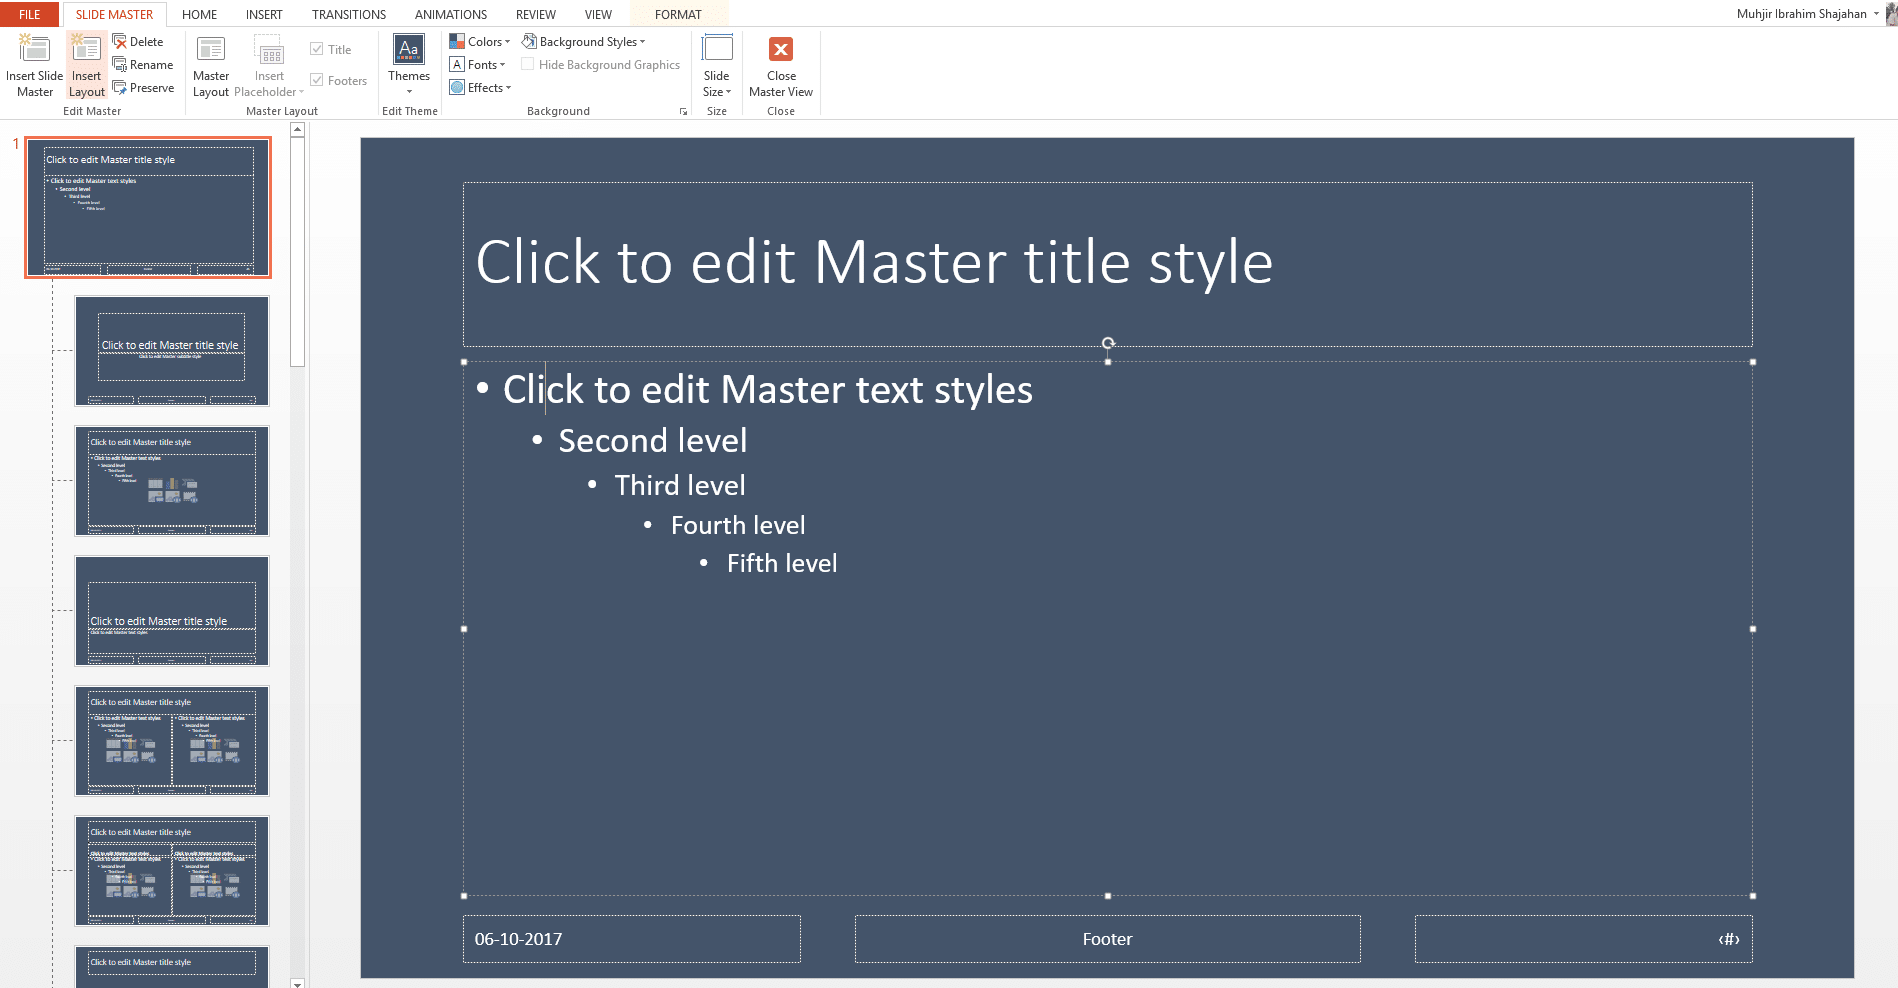
1) Open PowerPoint and click the view tab. The slide master option is hosted under view tab.
You can see that the slide master view is in the master view section. Click the slide master view to engage slide master view.

2) When you click the slide master view, you will be given a new set of toolbars. From here you can easily edit the slide formatting with ease.
3) From the options listed, you can edit or change almost all the formatting options to suit your new style. Be it fonts, text, or graphics, slide master has you covered.
There are mainly four types of edits you can do with master slides;
Format and edit text:
One of the most useful features in slide master. We all have faced this issue of not having uniform formatting in our slides. This becomes apparent when we put together headings and sub-contents in the slides. It’s most likely that we may have capitalization, style or font issues throughout the slides. To change these inconsistencies throughout the content, you can use the edit the master slide and this change will resonate throughout the content.
Edit graphics and backgrounds:
With master slide, you can insert/delete/edit the background and animations in your slides. This option is handy when you have to insert images or logo into your slides. They can also alter the positioning in your slide to make it uniform. A slide that is professionally made will not have scattered or out-of-place images in the content. Be sure to use this feature to make your slides seem more refined.
Edit placeholders:
If you don’t know what a placeholder is till now, then don’t fret. Placeholders are those boxes where you insert content. By adding placeholders, you can add text, Images, animations, etc. if you have placeholders that are unorderly formatted, and then you can rearrange them in an orderly manner using this feature.
Custom layouts:
It’s common that most of the presentation we prepare do not fall in line with the premade PowerPoint layouts. So to have your own custom layouts form the get-go, use the insert layout feature. From here you can customize the slide in a lot of ways. You can add placeholders, delete text boxes or link content as per your liking and the same format can be used throughout the slides.
How to edit text in slide master in PowerPoint
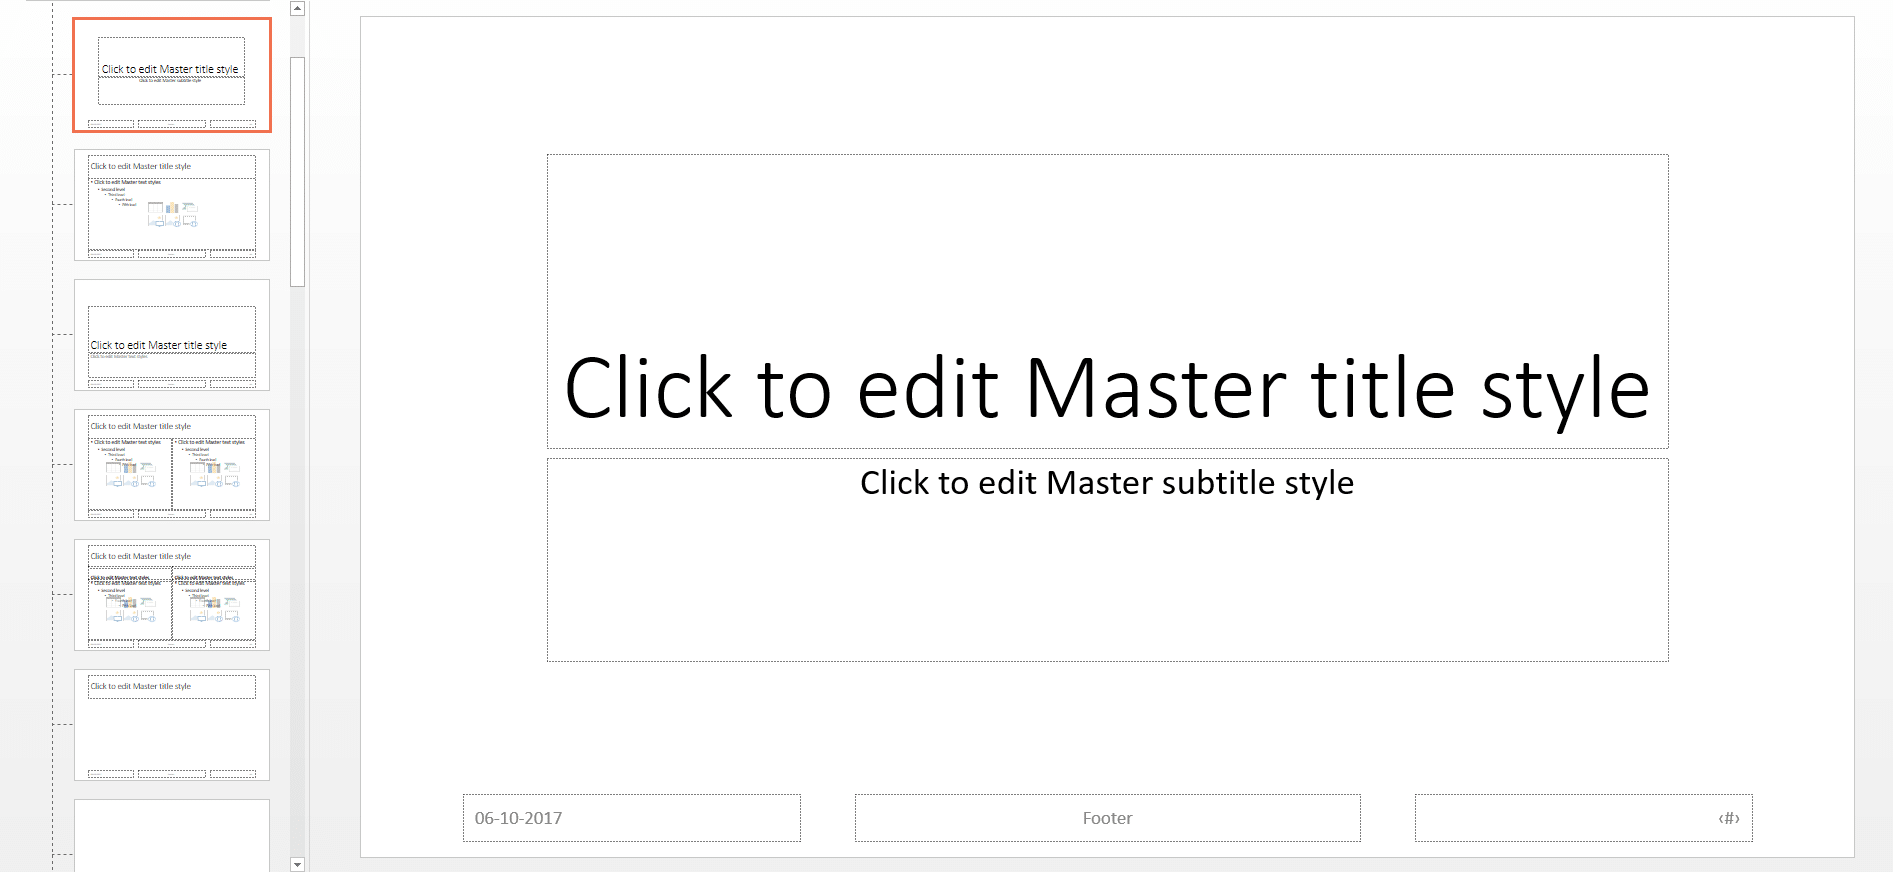
When you open slide master, you will be greeted with the above page. Here you can edit the title or subtext in any way you want. The changes will be made throughout the slides so that you can easily format them in one go. There are different layouts made available to you so that you can easily customize your slides.
Customizing slide graphics or backgrounds and themes in slide master
With the background styles option, you can quickly make changes to the entire slide layouts from one place. You can easily move between the styles, and background images within the master slide so that individual editing is avoided entirely.
The same goes for themes. You can use different types of themes into your presentation and edit them with ease using slide master.
Insert images and animations in slide master
Have you ever prepared an entire PowerPoint presentation only to know that you have missed out to add your logo in some slides? Now you have to go through each slide and insert the image while keeping the proper alignment. With slide master, you can easily add an image or logo in this case to the every slide without the need for individual edits.
Slide master is an advantageous feature that’s very easy to miss out on, but now you can quickly take advantage of the powerful features this option provides. The changes you have made using slide master comes into effect after you have clicked on the close master view option. Every change can be easily reverted using the undo feature if you happen to make any mistakes. Be sure to use slide master to create perfect slides every single time!
Check out these articles that make use of the slide master: